XT45/XT47 Series Installation Guide
This guide applies to XT45 and XT47 devices.
Before You Begin
The installation kit contains:
- XT45 device
- Cable tie
Additional tools and supplies required may include:
- Ink pen
- Fine-tip marker
- Digital multimeter
- Razor knife
- Wire strippers
- Electrical tape
Installation Overview
The following steps provide an overview of the installation process:
- Installation Preparation
- Device Mounting
- Harness Installation
- Ignition-Based Reporting (3 wire) – Default
- Red wire = 12v-24v constant wire
- Black wire – Chassis ground
- White wire – Ignition Source
- Motion-Based Reporting (2 wire)
- Red wire = 12v-24v constant wire
- Black wire – Chassis ground
- White wire – Not used
- Ignition-Based Reporting (3 wire) – Default
- Ground Connection
- Verification and Registration
Installation Steps
1. Installation Preparation.
- Write down the device's 15-digit Activation Code and 9-digit serial number (ESN). These will be used later to verify the installation and register the device.
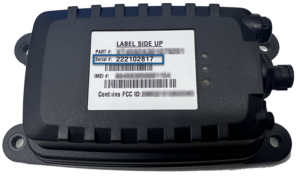
- Identify a mounting location, ideally level and on top of the asset.
- Inspect underneath the potential mounting location to confirm nothing will be damaged during mounting.

2. Device Mounting.
- Place the device on the asset, mark mounting holes, drill using a 1/4″ (7mm) bit, insert Well Nuts, and screw the device to the asset.

- If the power cable needs to breach asset housing, utilize the provided grommet and butt connectors.
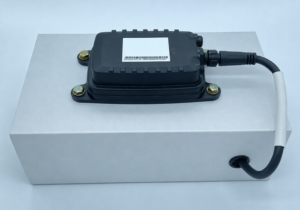
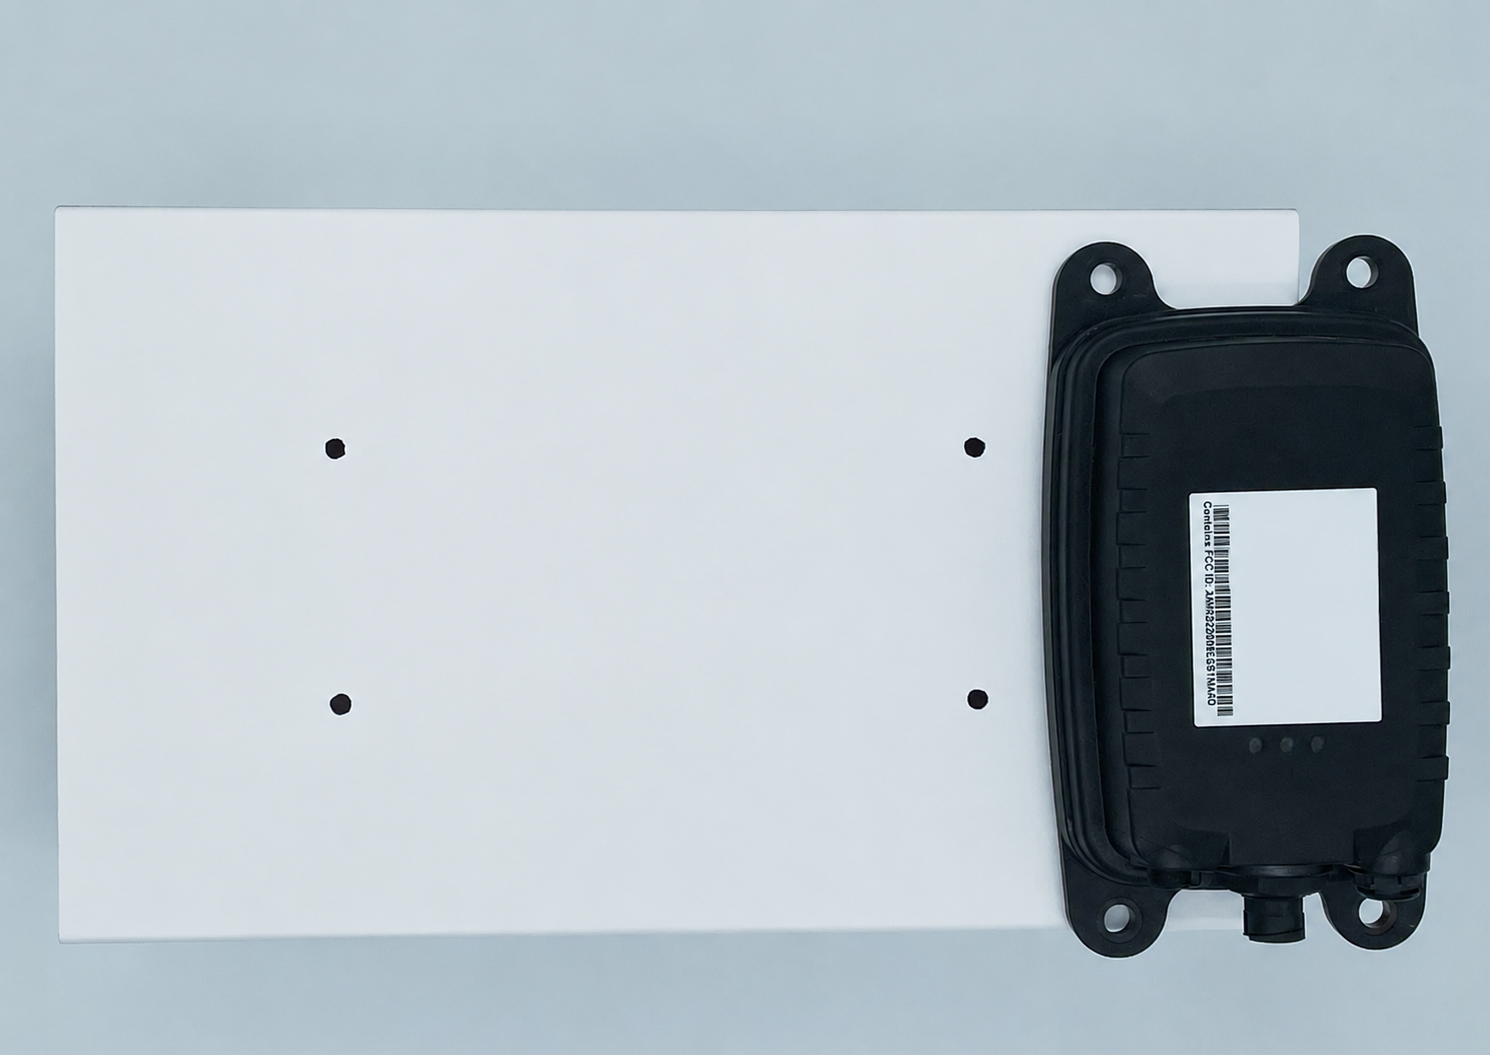
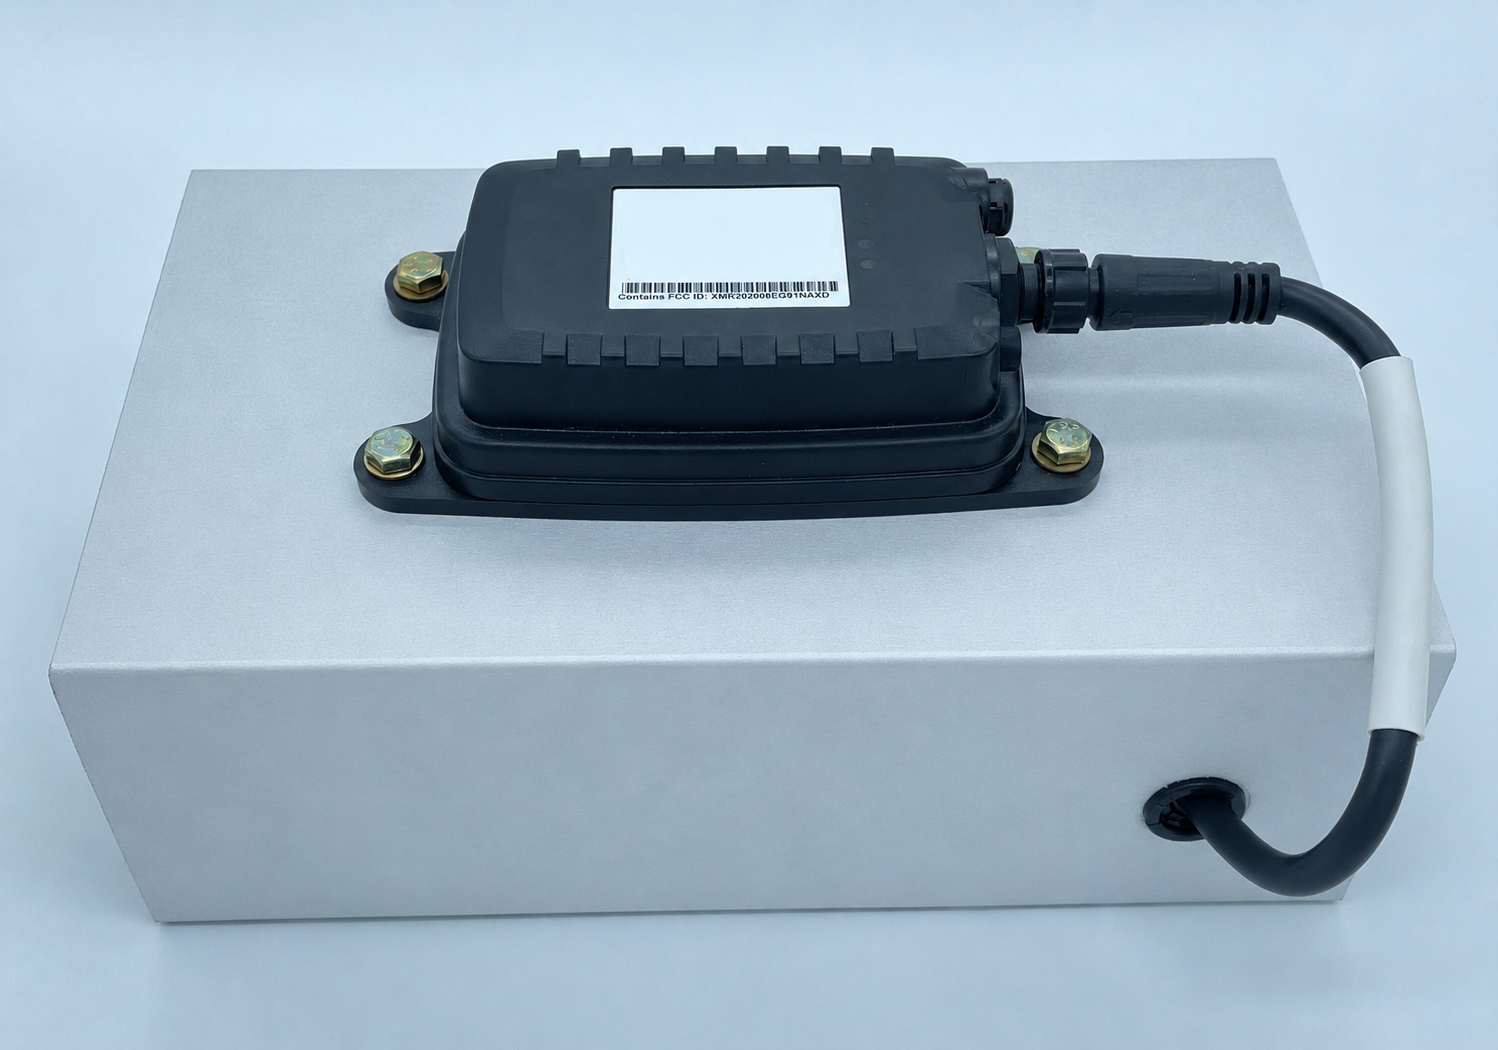
Note: A cable breach point should be located where it’s least susceptible to weather; the top of the asset is not recommended.
3. Harness Installation.
Conventional Hardwire
Constant power source wire: Locate a vehicle/asset wire that continuously provides +12 VDC to +24 VDC, regardless of whether the vehicle is ON, OFF, or the keys are removed. Connect this to the device’s Red constant power wire.
Ignition power source wire: Locate a vehicle/asset wire that provides +12 VDC to +24 VDC only when the ignition is in the ON position and 0 VDC when the ignition is OFF or in ACCESSORY mode. Connect this to the device’s White switched power wire.
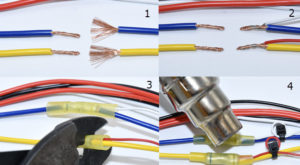
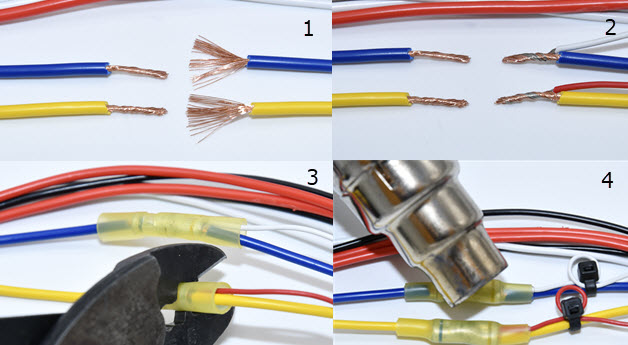
- Cut the identified vehicle wire, strip ½ inch of insulation from both ends, and separate (fray) the wire strands on one end.
- Strip ½ inch of insulation from the device’s White wire, fray the strands, and twist it together with the frayed end of the vehicle wire.
- Insert the single vehicle wire into one side of the connector and the two twisted wires into the opposite side, then crimp both ends securely.
- Apply heat to the connector until the adhesive seals the connection and creates a weatherproof bond. Finish by securing the wiring with a cable-tie stress loop.
Motion
Locate a vehicle/asset wire that continuously provides +12 VDC to +24 VDC, regardless of whether the vehicle is ON, OFF, or the keys are removed. Connect this to the device’s Red constant power wire.
Note: The device’s white wire will not be used since the XT45 is programmed for motion.
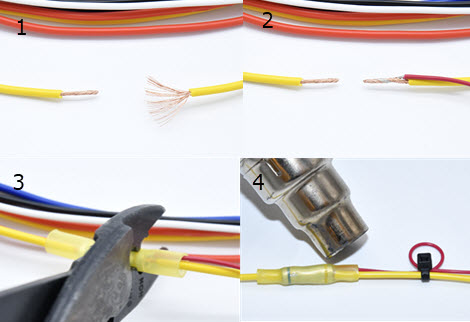
- Cut the identified vehicle wire, strip ½ inch of insulation from both ends, and separate (fray) the wire strands on one end.
- Strip ½ inch of insulation from the device’s White wire, fray the strands, and twist it together with the frayed end of the vehicle wire.
- Insert the single vehicle wire into one side of the connector and the two twisted wires into the opposite side, then crimp both ends securely.
-
Apply heat to the connector until the adhesive seals the connection and creates a weatherproof bond. Finish by securing the wiring with a cable-tie stress loop.
4. Ground Connection.
Remove 1/2“ (1 cm) of insulation from the Black wire, crimp the ring terminal to the wire, heat connector, and then screw ring terminal to the chassis.
5. Verification and Registration.
- Text the Activation Code from Step 1.1 to ClearPathGPS at telephone number: (805) 695-2388.
- After you text your Activation Code to ClearPathGPS, you will receive a few text messages prompting you to reply with information about the vehicle. Respond to the prompts with the following:
- Vehicle Name: This is the vehicle label that you will see on the Map
- VIN (Vehicle Identification Number): This can be found on the vehicle’s registration and on the vehicle itself
- License Plate
- Current Odometer
- After sending the current odometer, turn on the vehicle’s engine and wait 30 seconds.
- Turn off the vehicle’s engine and wait 30 seconds.
- Text “Done” to (805) 695-2388. You should receive a text response stating: “Installation complete.”
- Upon completion, reassemble the vehicle’s dashboard and give the registration card to your GPS administrator.